

For the second day of our Memorial Day unit study we studied a Bible story of memorial. We read about and made our own memorial stones like Joshua and the Israelites did after crossing the Jordan River. We also made another Memorial Day art project.
Memorial Stone
Discuss: In the Old Testament of our Bibles God’s people also had a time of memorial to remember what God had done for them. Open your Bibles to Joshua 4. Before we read let’s talk about what happened before Joshua 4. Remember God’s people had been in slavery in Egypt and God used Moses to lead his people out of slavery and across the Red Sea. Then, God led them to wander through the wilderness for forty years, but every day He was faithful to give them the quail and manna they needed. Then God finally led the Israelites to the land He had promised them when He led them out of Egypt. That brings us to today’s story. This is the story of how God led His people across the Jordan River on dry ground and into the Promised Land. God wanted a man from each of the twelve tribes to pick up a stone as they crossed the Jordan River.
Read: Joshua 4:1-20
Comprehension Questions:
- “Why were these twelve stones important?” The Israelites were to keep the twelve stones as a way to remember how God led them safely across the Jordan River.
- What are some good things God has done for you that you want to remember? Let the children answer, The mose important thing that God had done for us is given us His Son Jesus.
The Hand of God
I had J trace his hand on paper and cut it out. Then he wrote “Joshua 4:23-24” on the palm of it.


Joshua Crossing the Jordan Coloring Page
I used the Joshua Crossing the Jordan Coloring Page that I found here for J to color.
Memorial Stones
Discuss: Just like God wanted a man from each of the twelve tribes to pick up a stone as they crossed the Jordan. Today you are going to paint your own memorial stone as a reminder to you of how God gave us Jesus. When you look at your stone you can remember how Jesus died on the cross for your sins and you can thank God sending His Son Jesus to die in your place

Materials:
- One clean, dry stone for each child
- One paintbrush for each child
- One paper plate or pie tin for each child to use as a paint palette
- One color acrylic paint. The amount of paint needed depends upon the number of children.
- Masking tape
- Sharpie marker
Procedure:
- The stones must be scrubbed clean and be completely dry for the paint to stick to the surface. I recommend you wash the stones a few days in advance and set them outside to dry.
- Pass out one stone, one paintbrush, and one empty paint palette to each child.
- Show a stone which is already completed.
- The children will choose which side of their stone will be the top.
- Squeeze a small amount of paint onto each child’s palette.
- The children will paint a cross on the top of their stone.
- The adult helpers will write each child’s name on a piece of masking tape and stick it to the bottom of the stone.
- Set the stones aside and allow to dry.
Memorial Day Word Search
I found a Memorial Day Word Search that J and I worked together.
Memorial Day Mixed Media
Materials:
- Red and Blue Paint
- Paintbrush
- White Paper
- Scissors
- Glue
- Black Construction Paper
Directions:
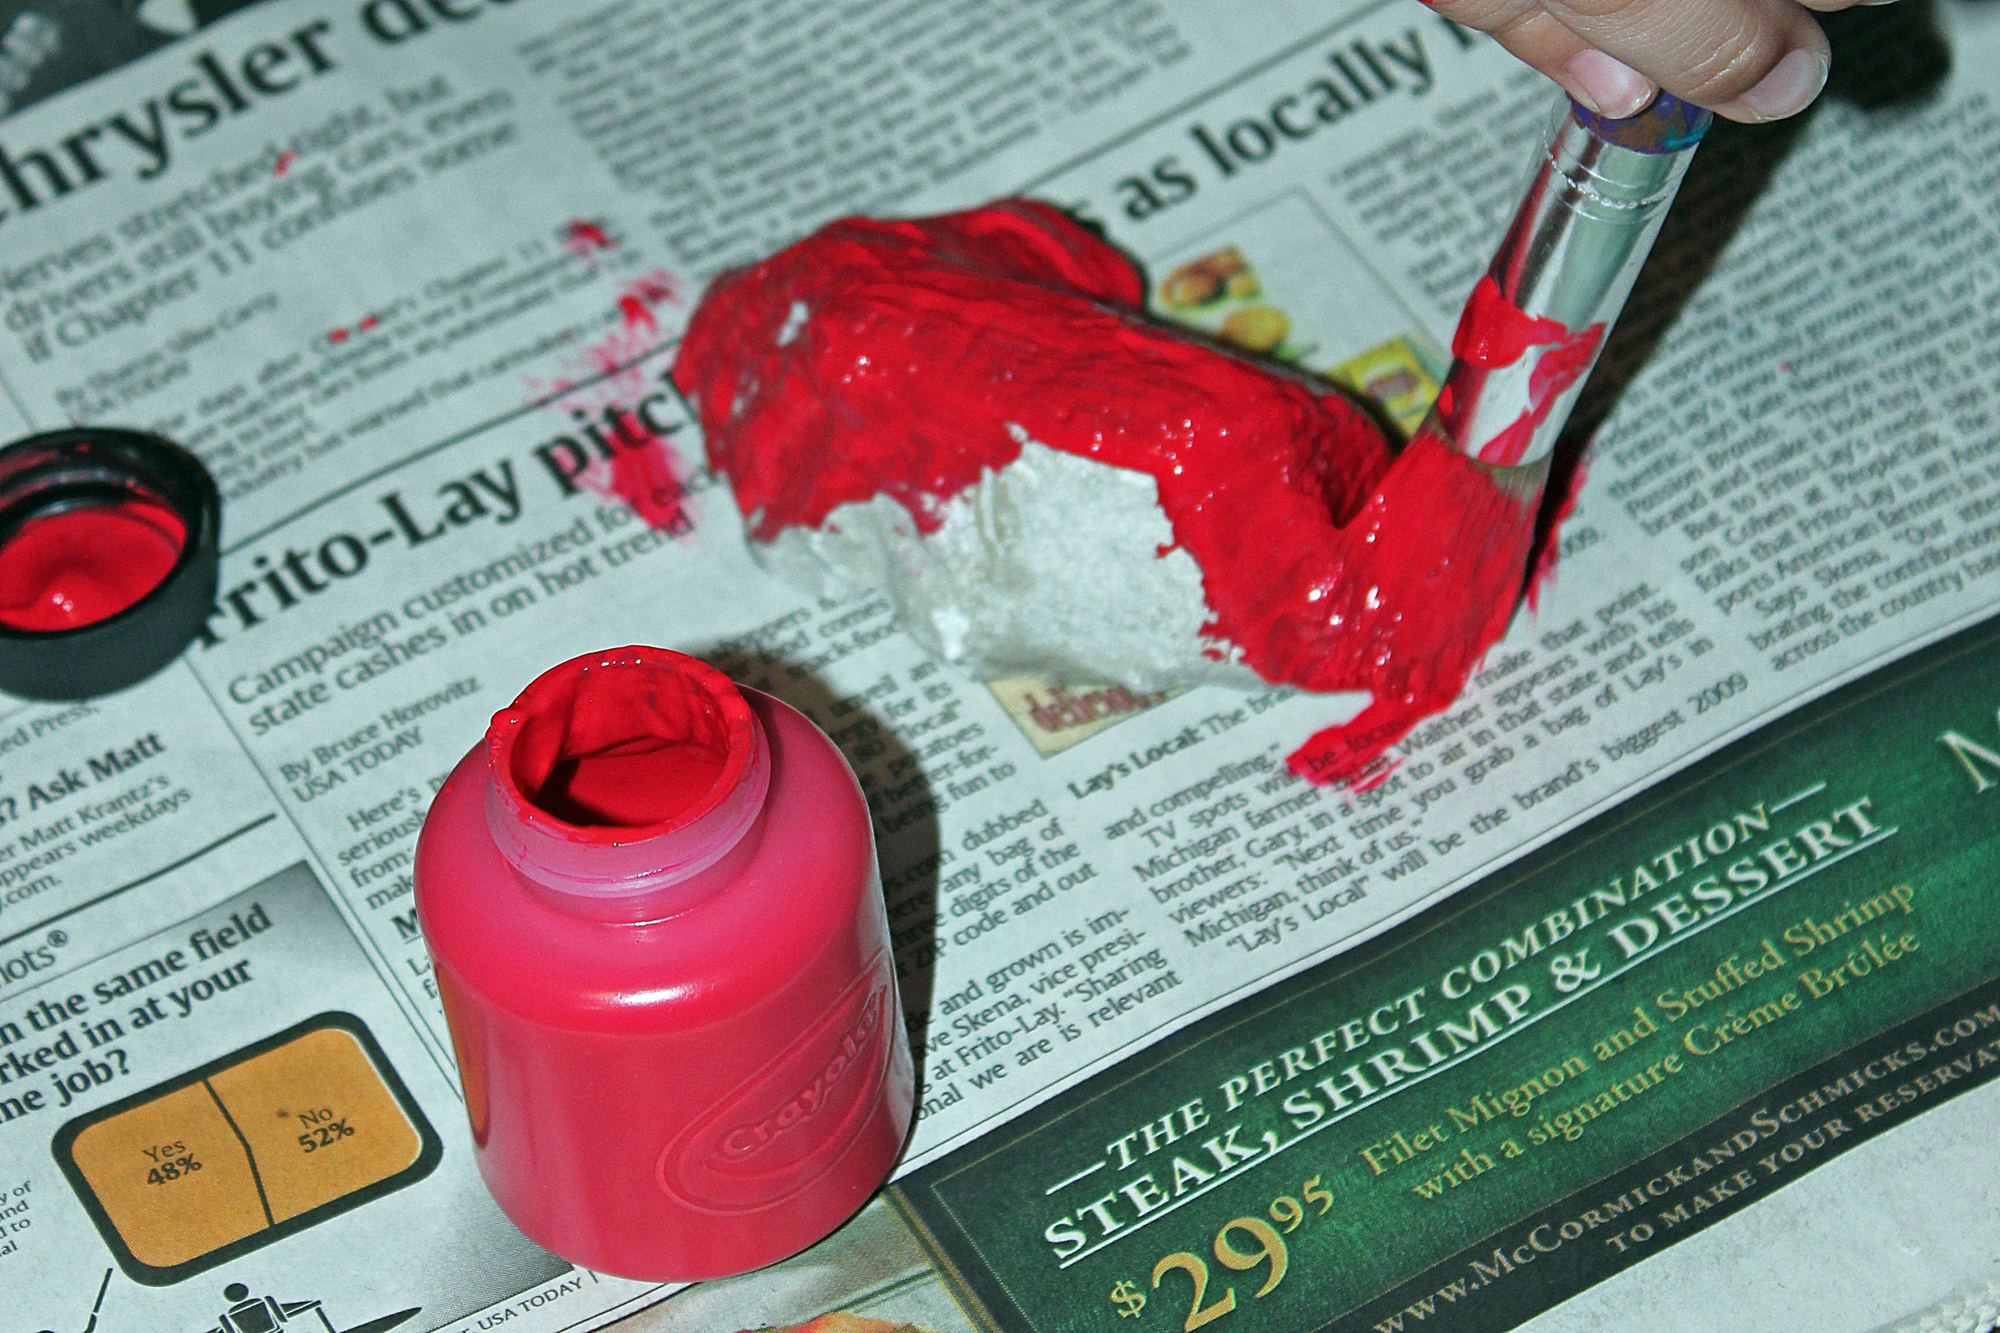
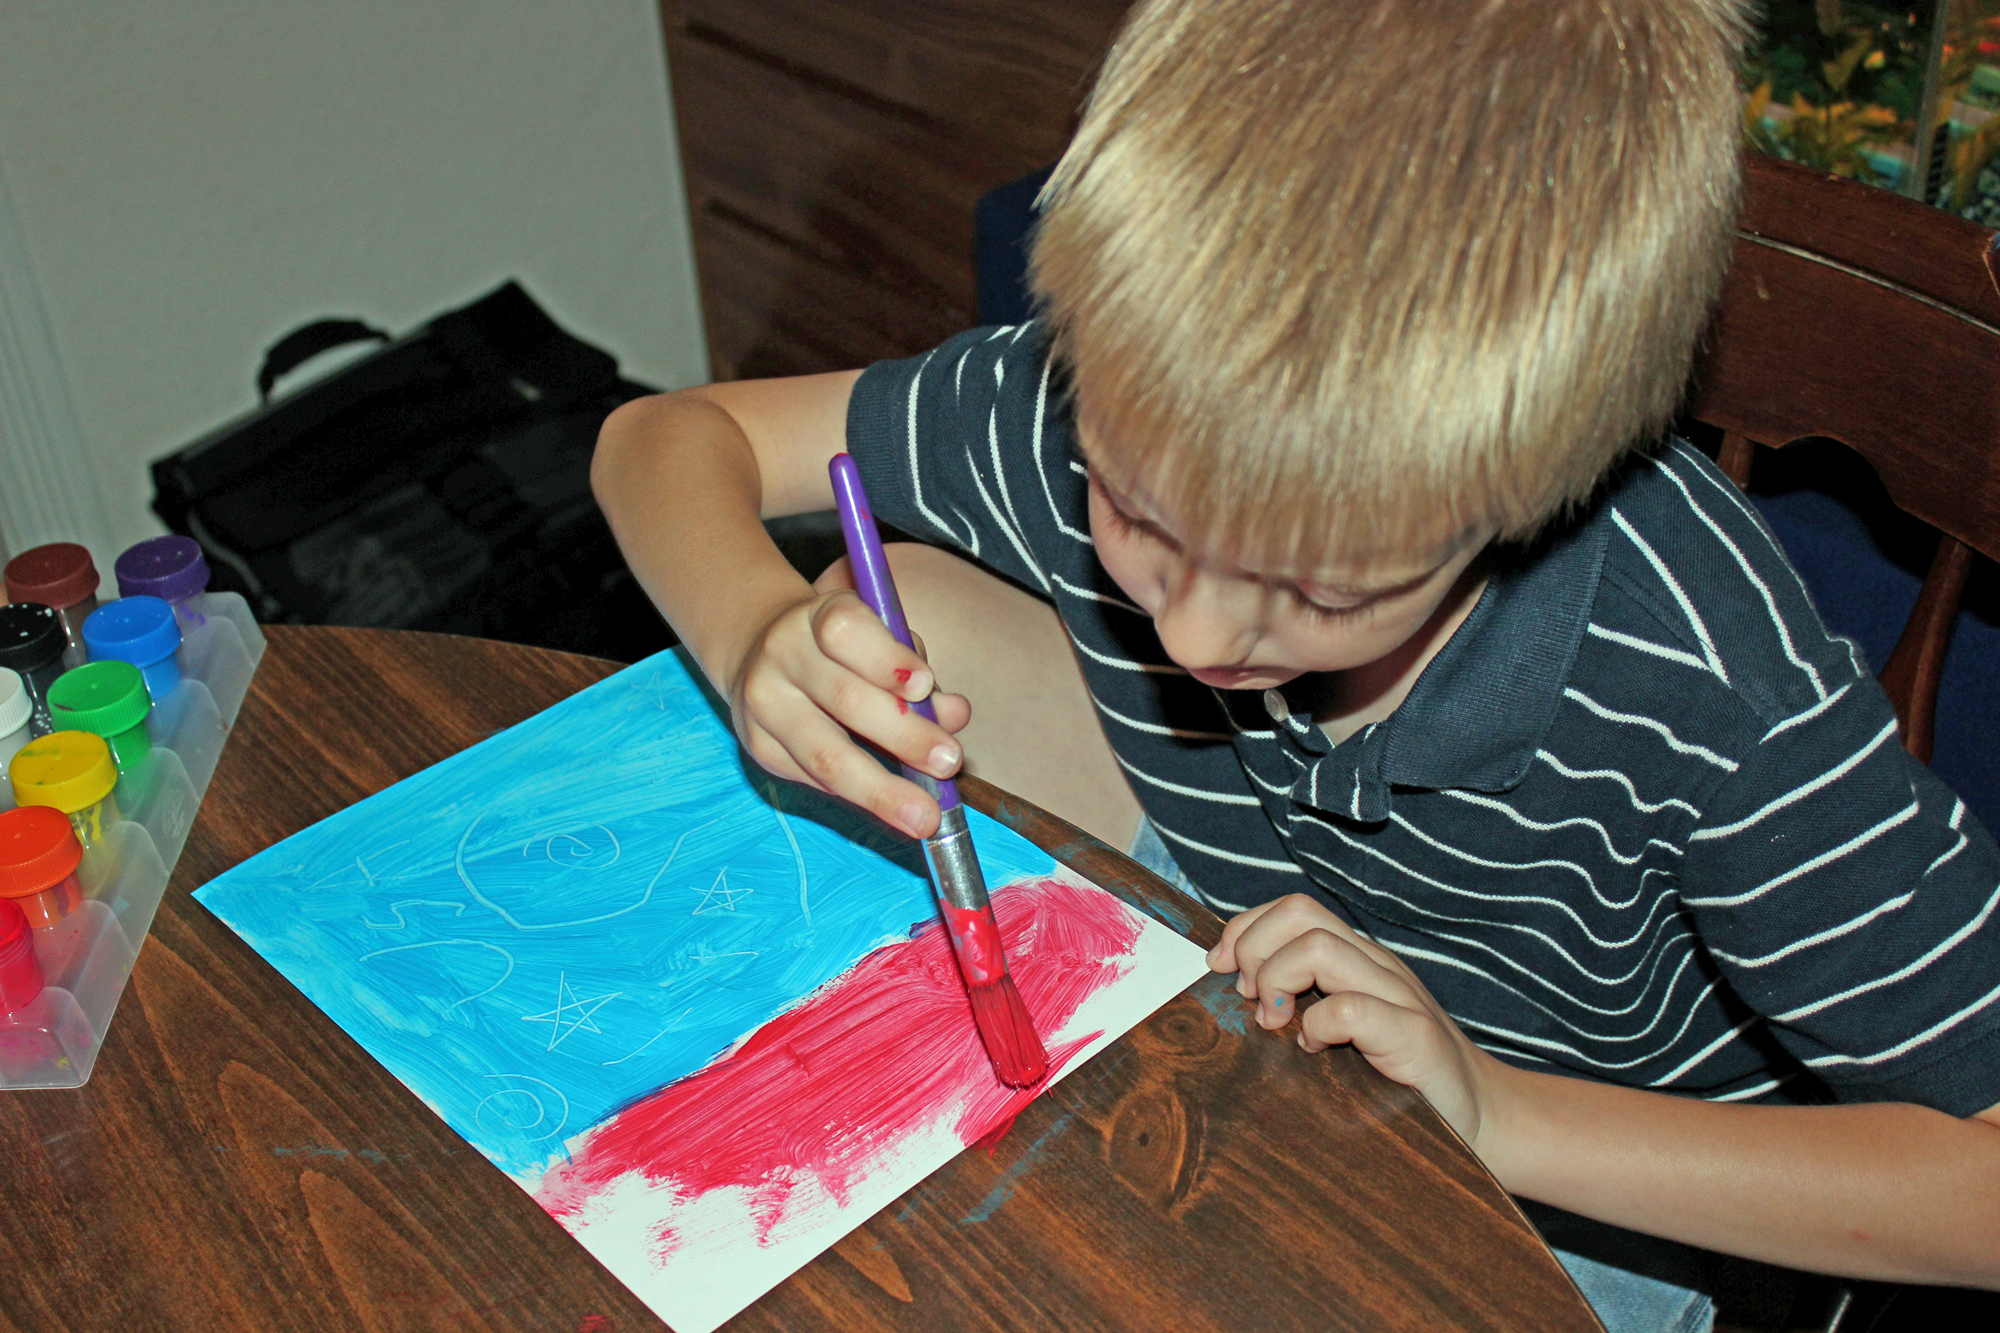
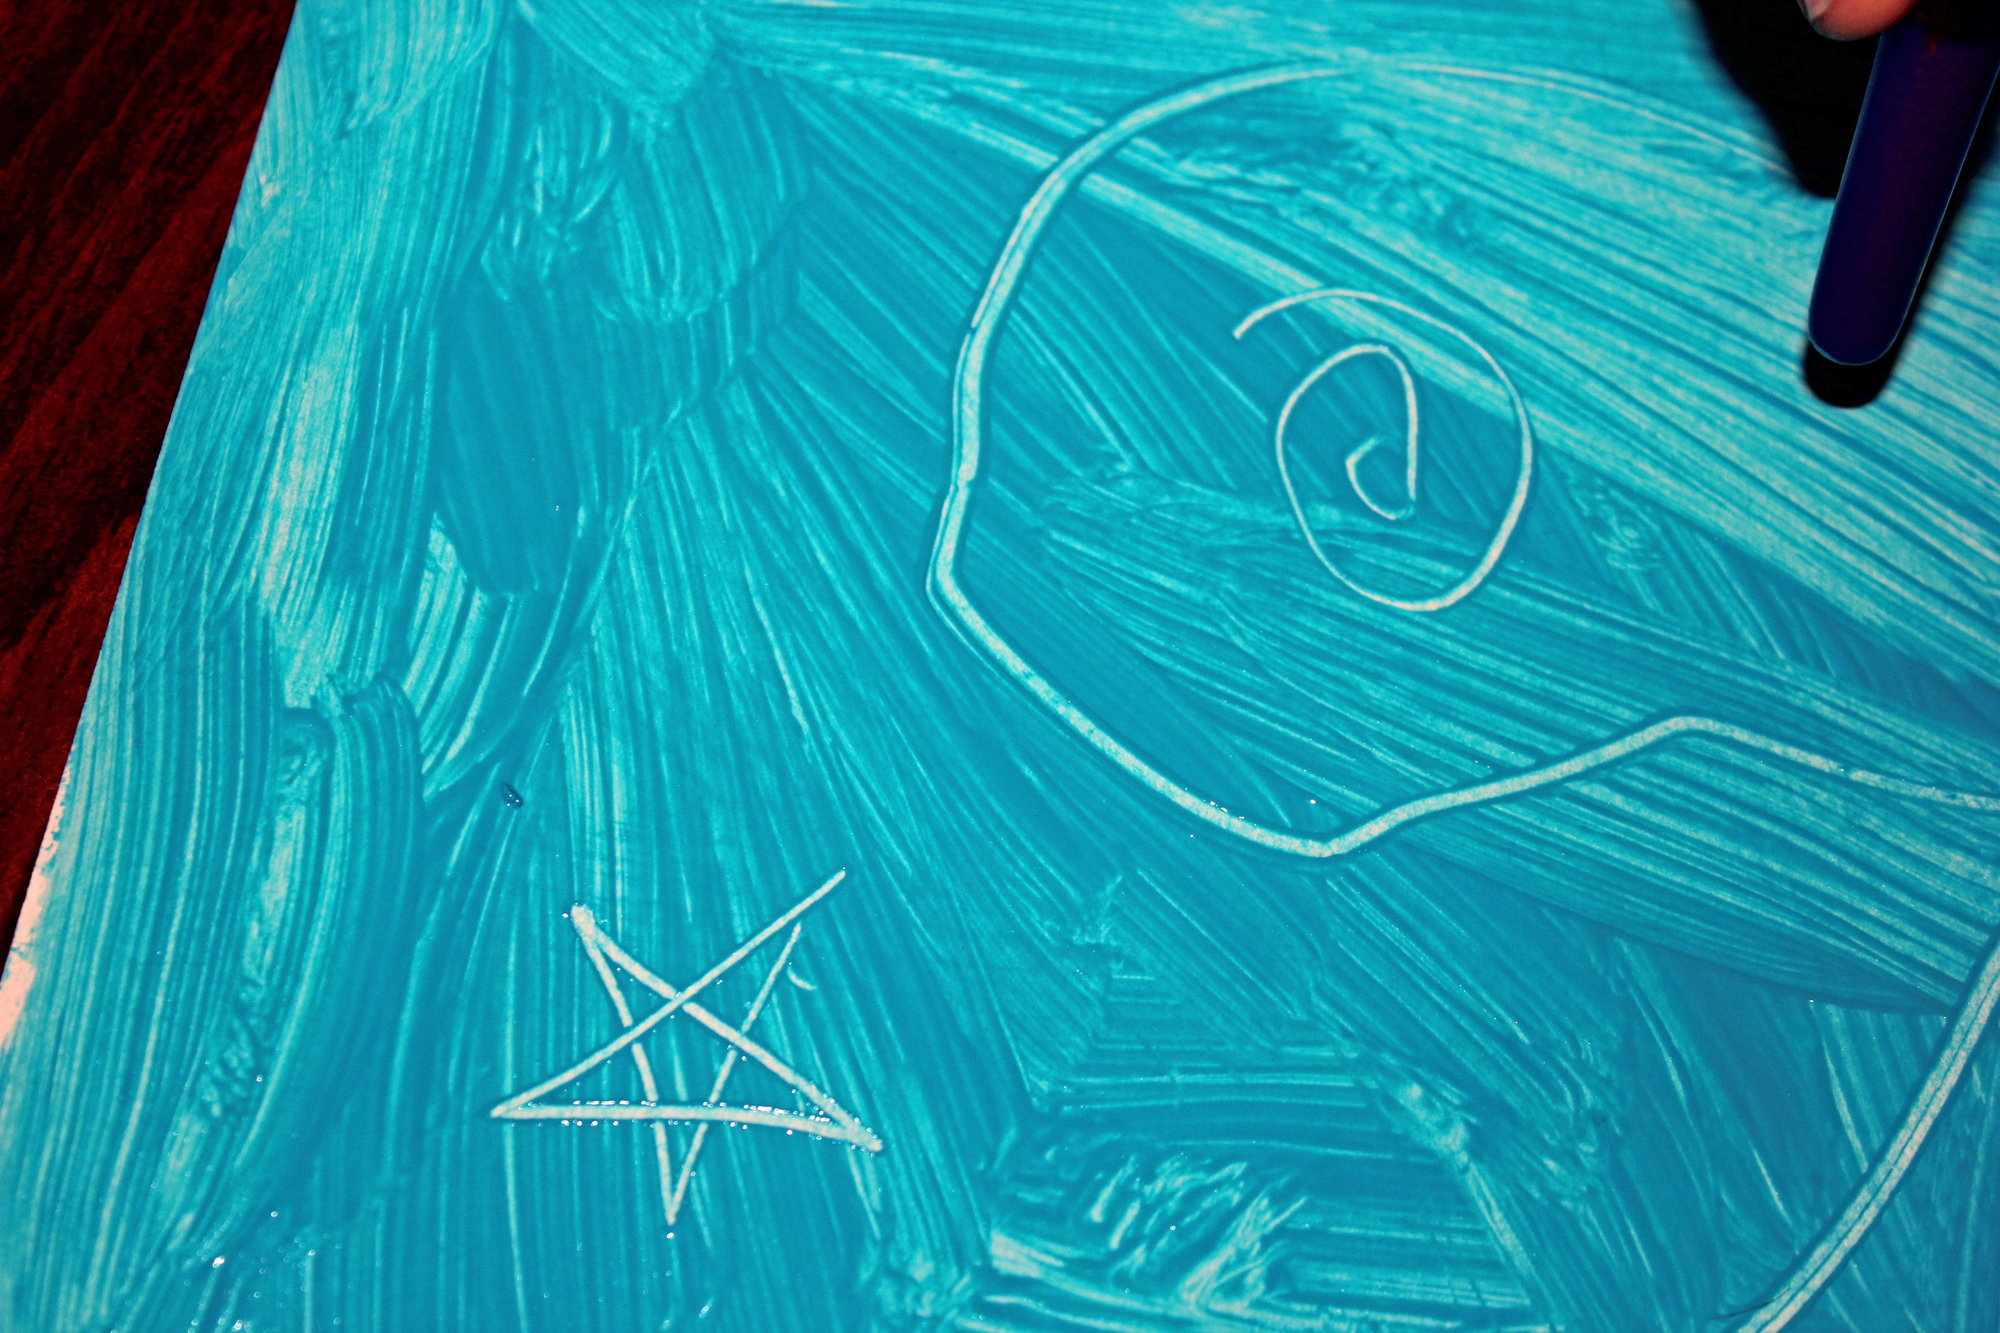
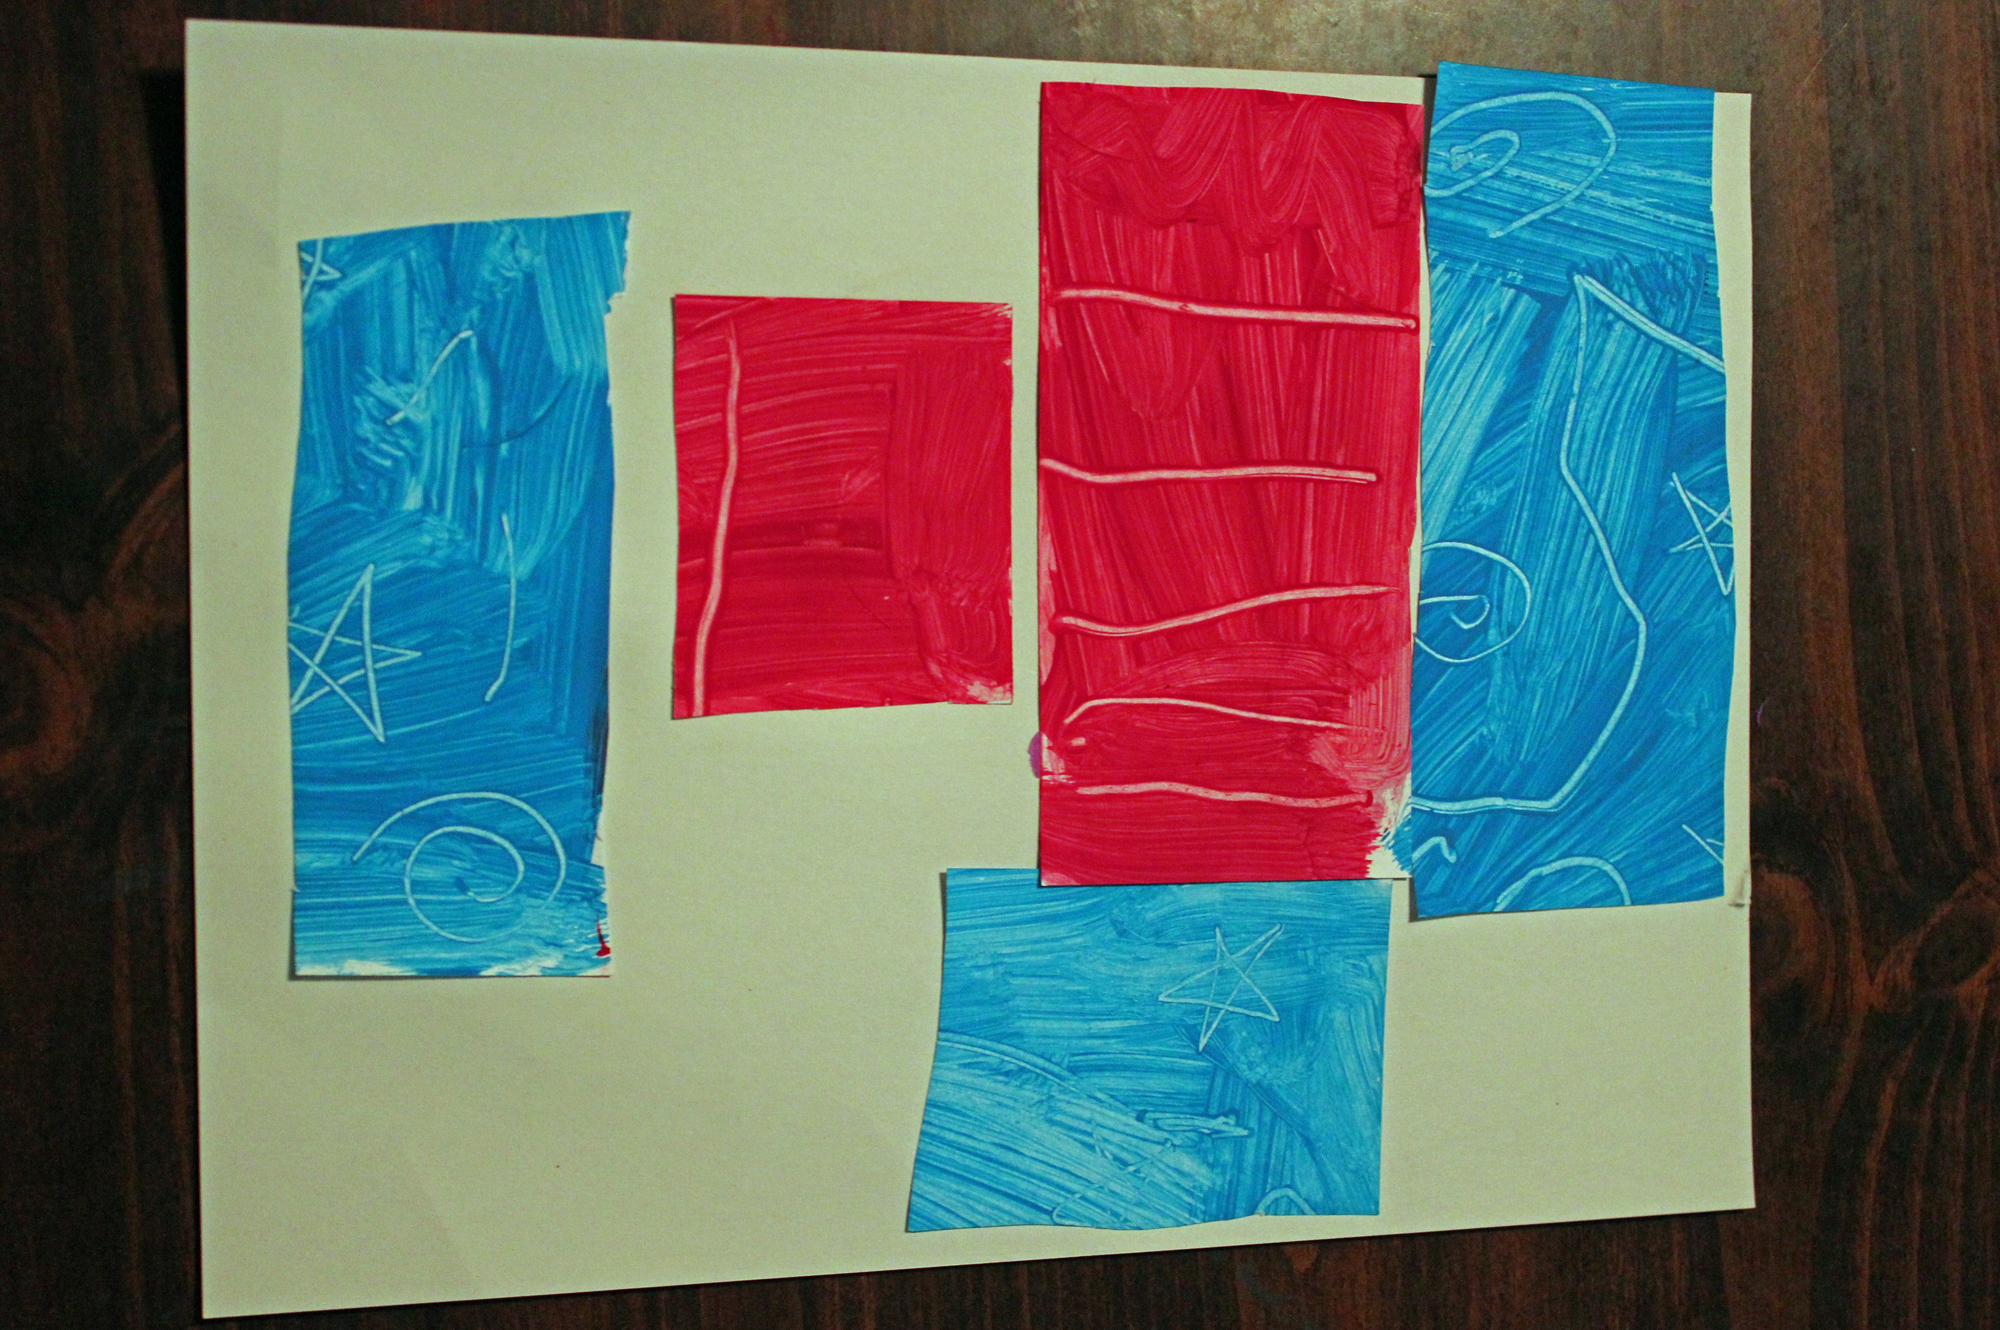
- Paint white paper and used the bottom of the brush to get some designs. Let it dry.


- Cut up the paper and collage it onto a big square white paper
 .
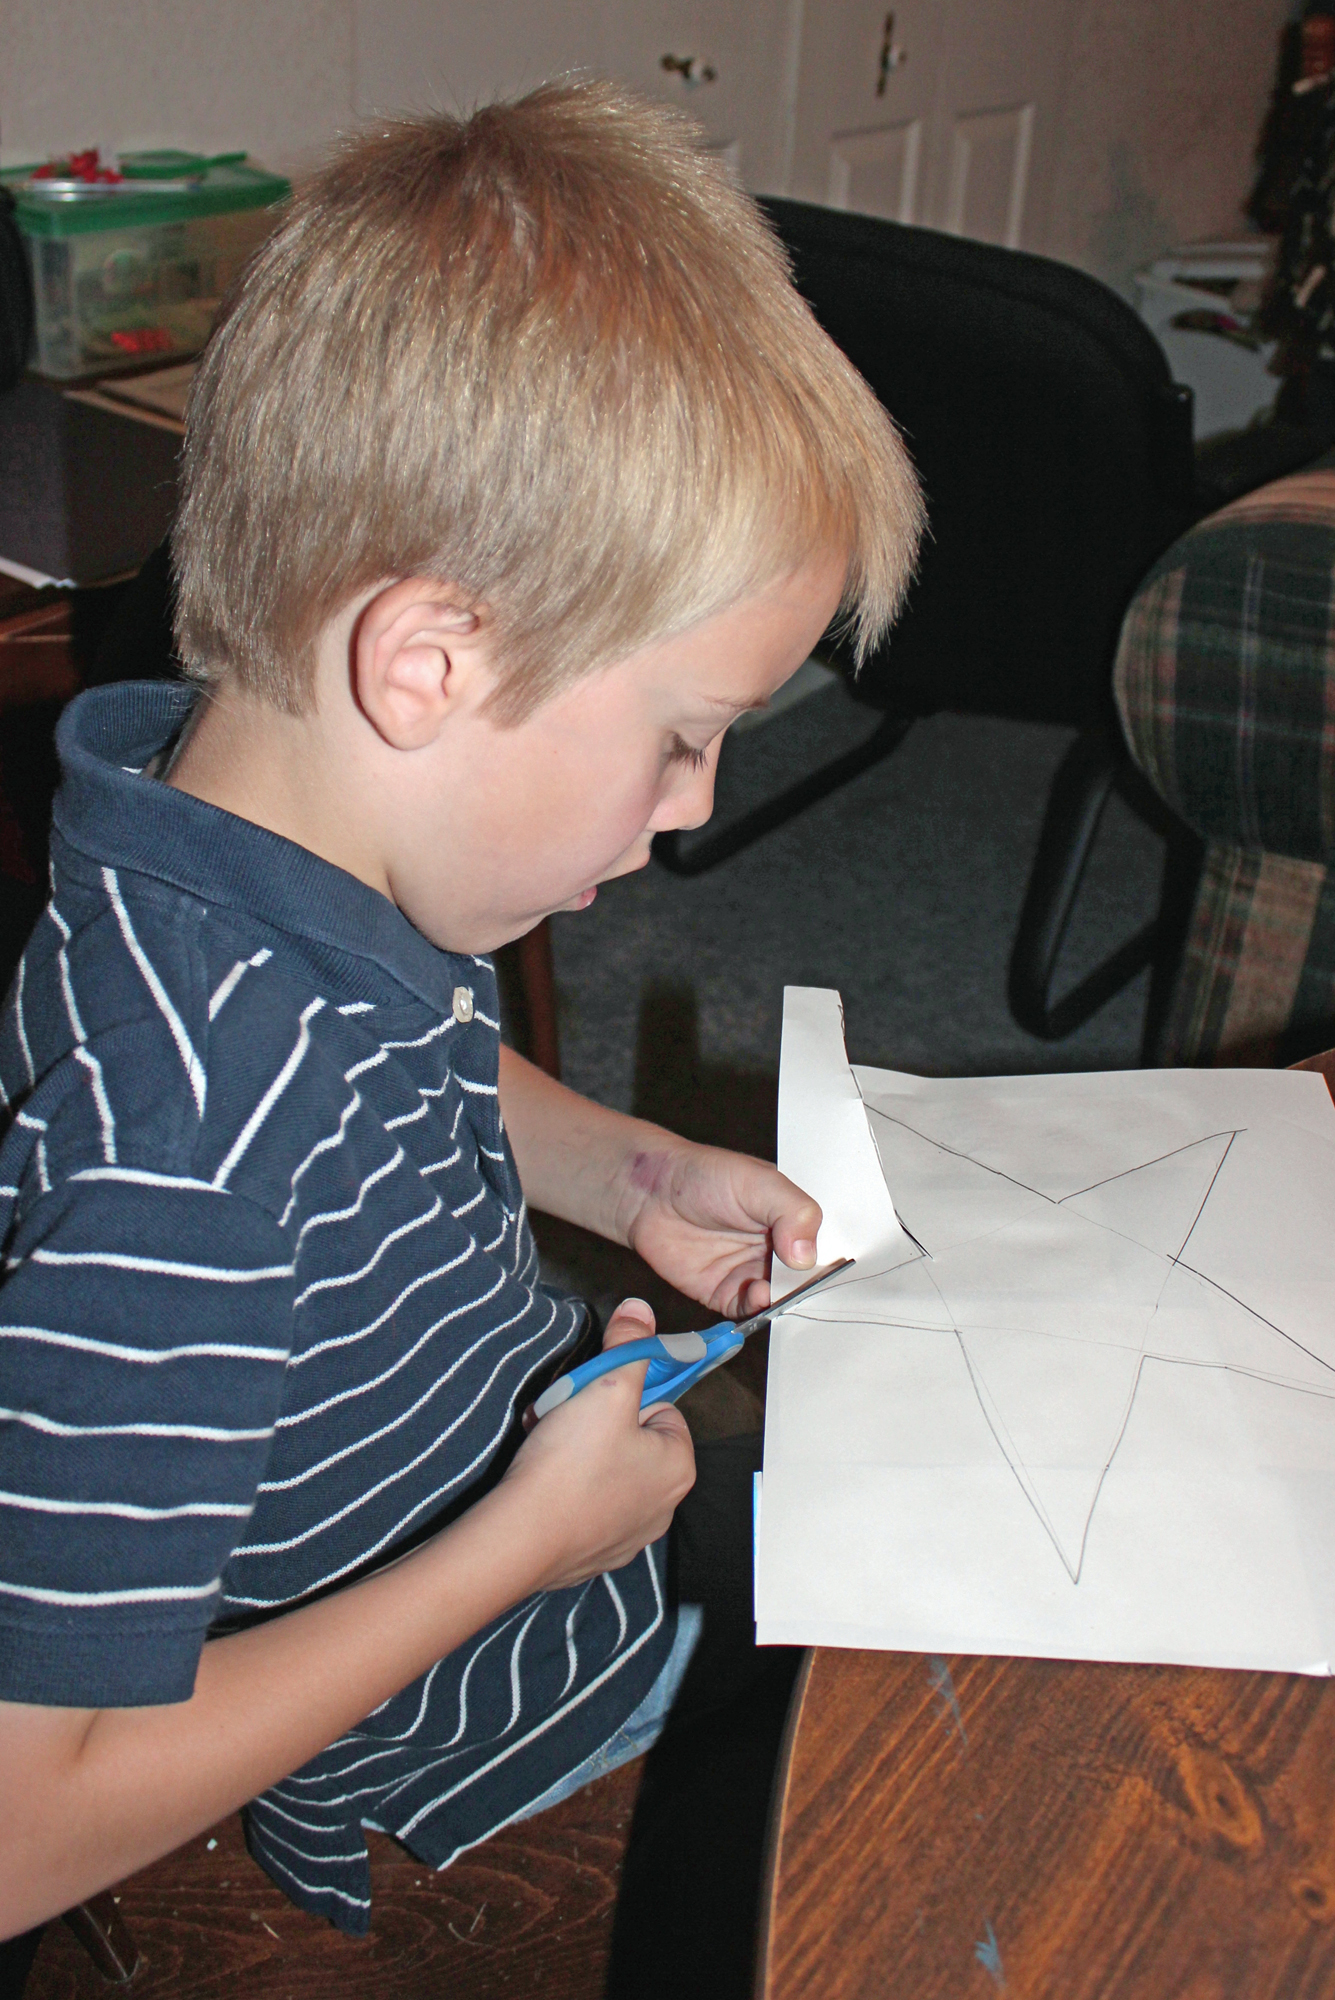
. - Flip the paper over and draw a star on the back (blank side), and cut it out.

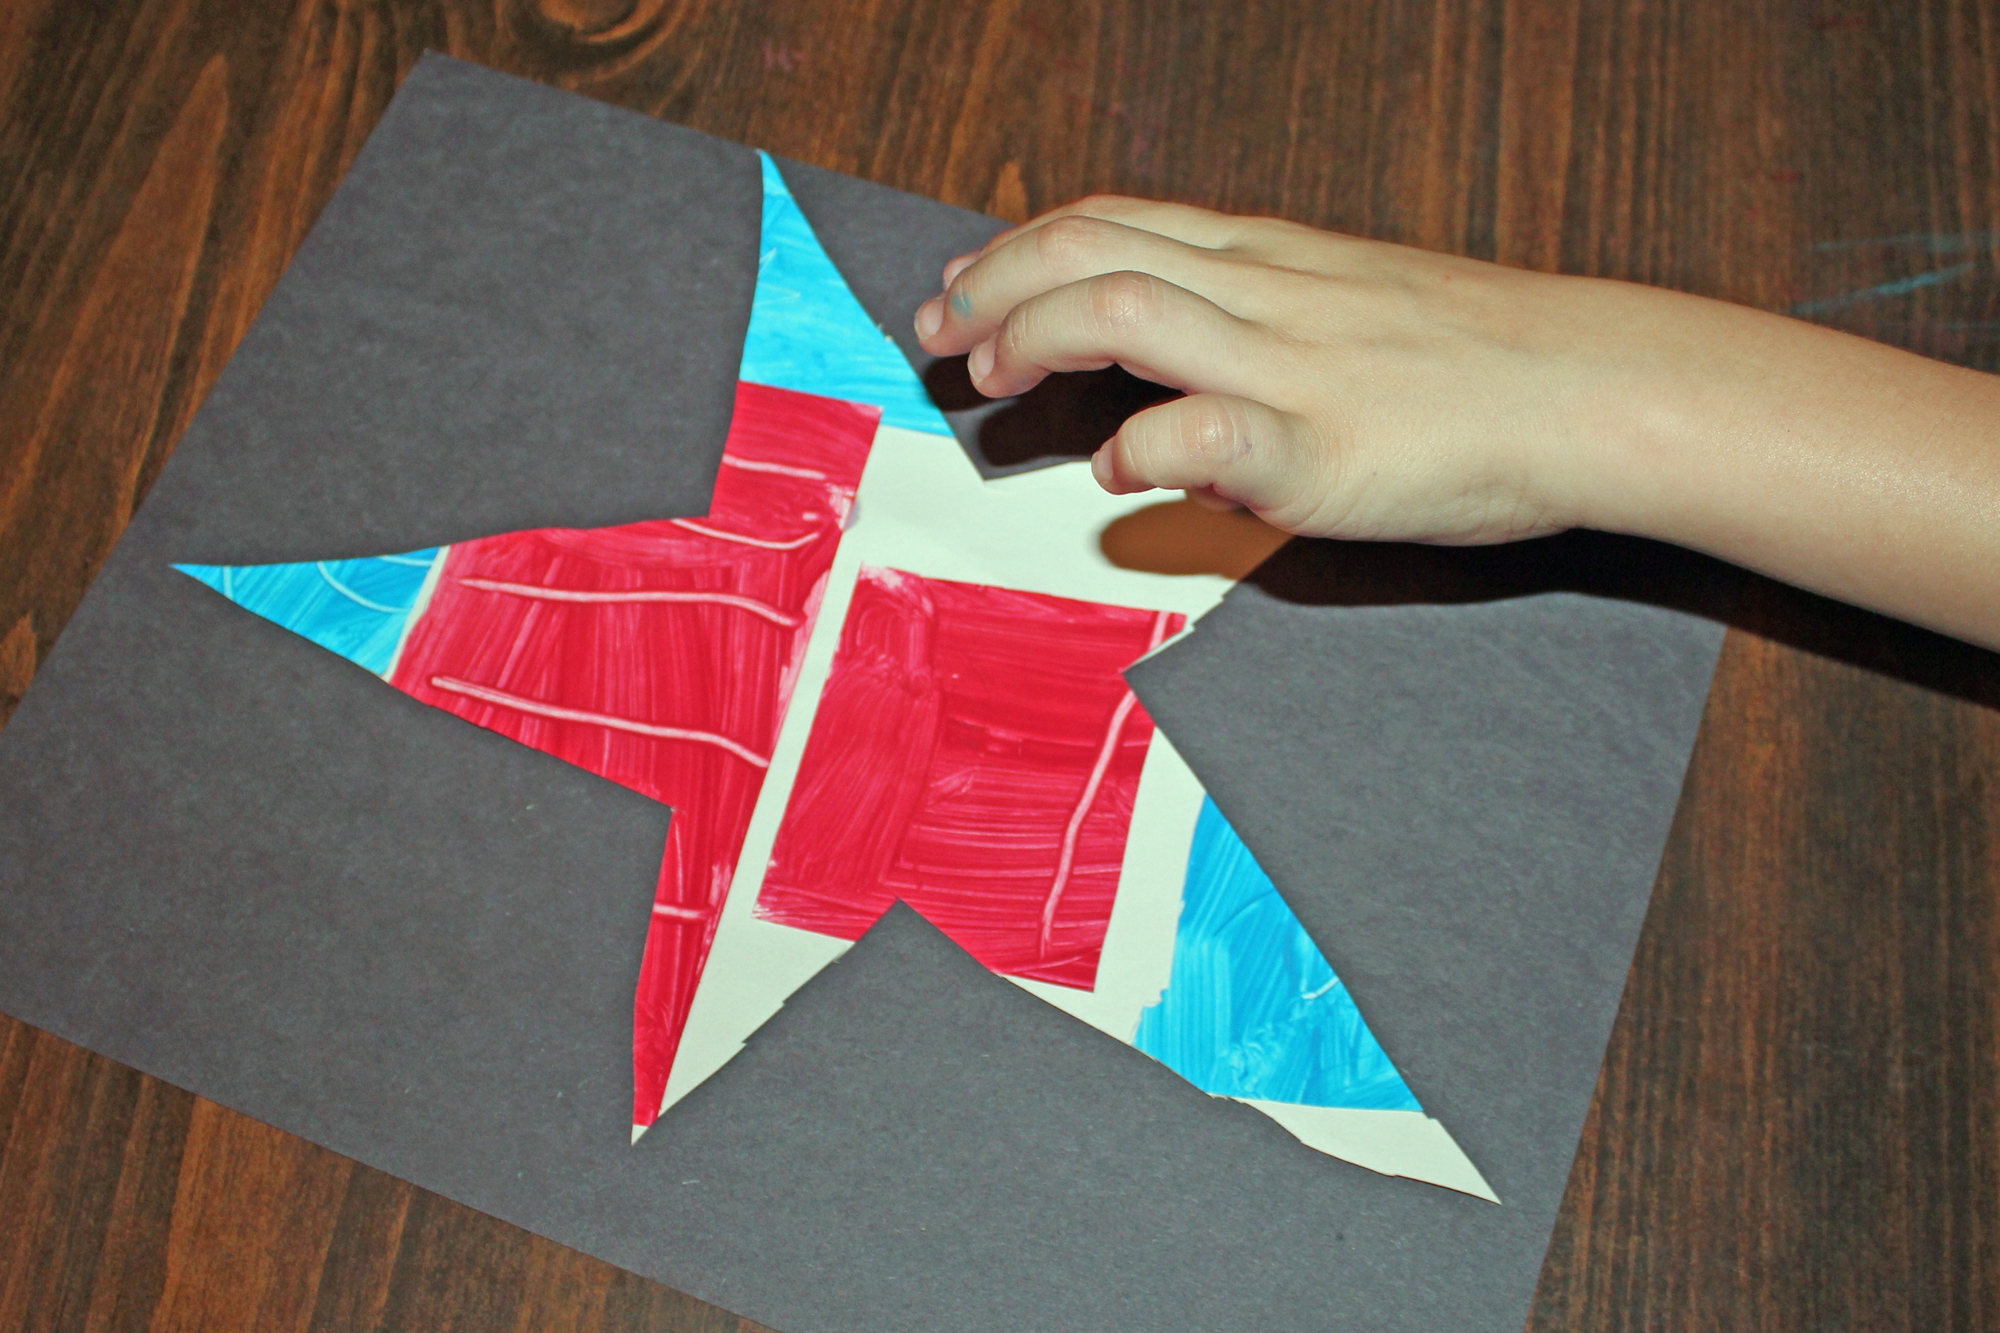
- Glue the star onto black paper.

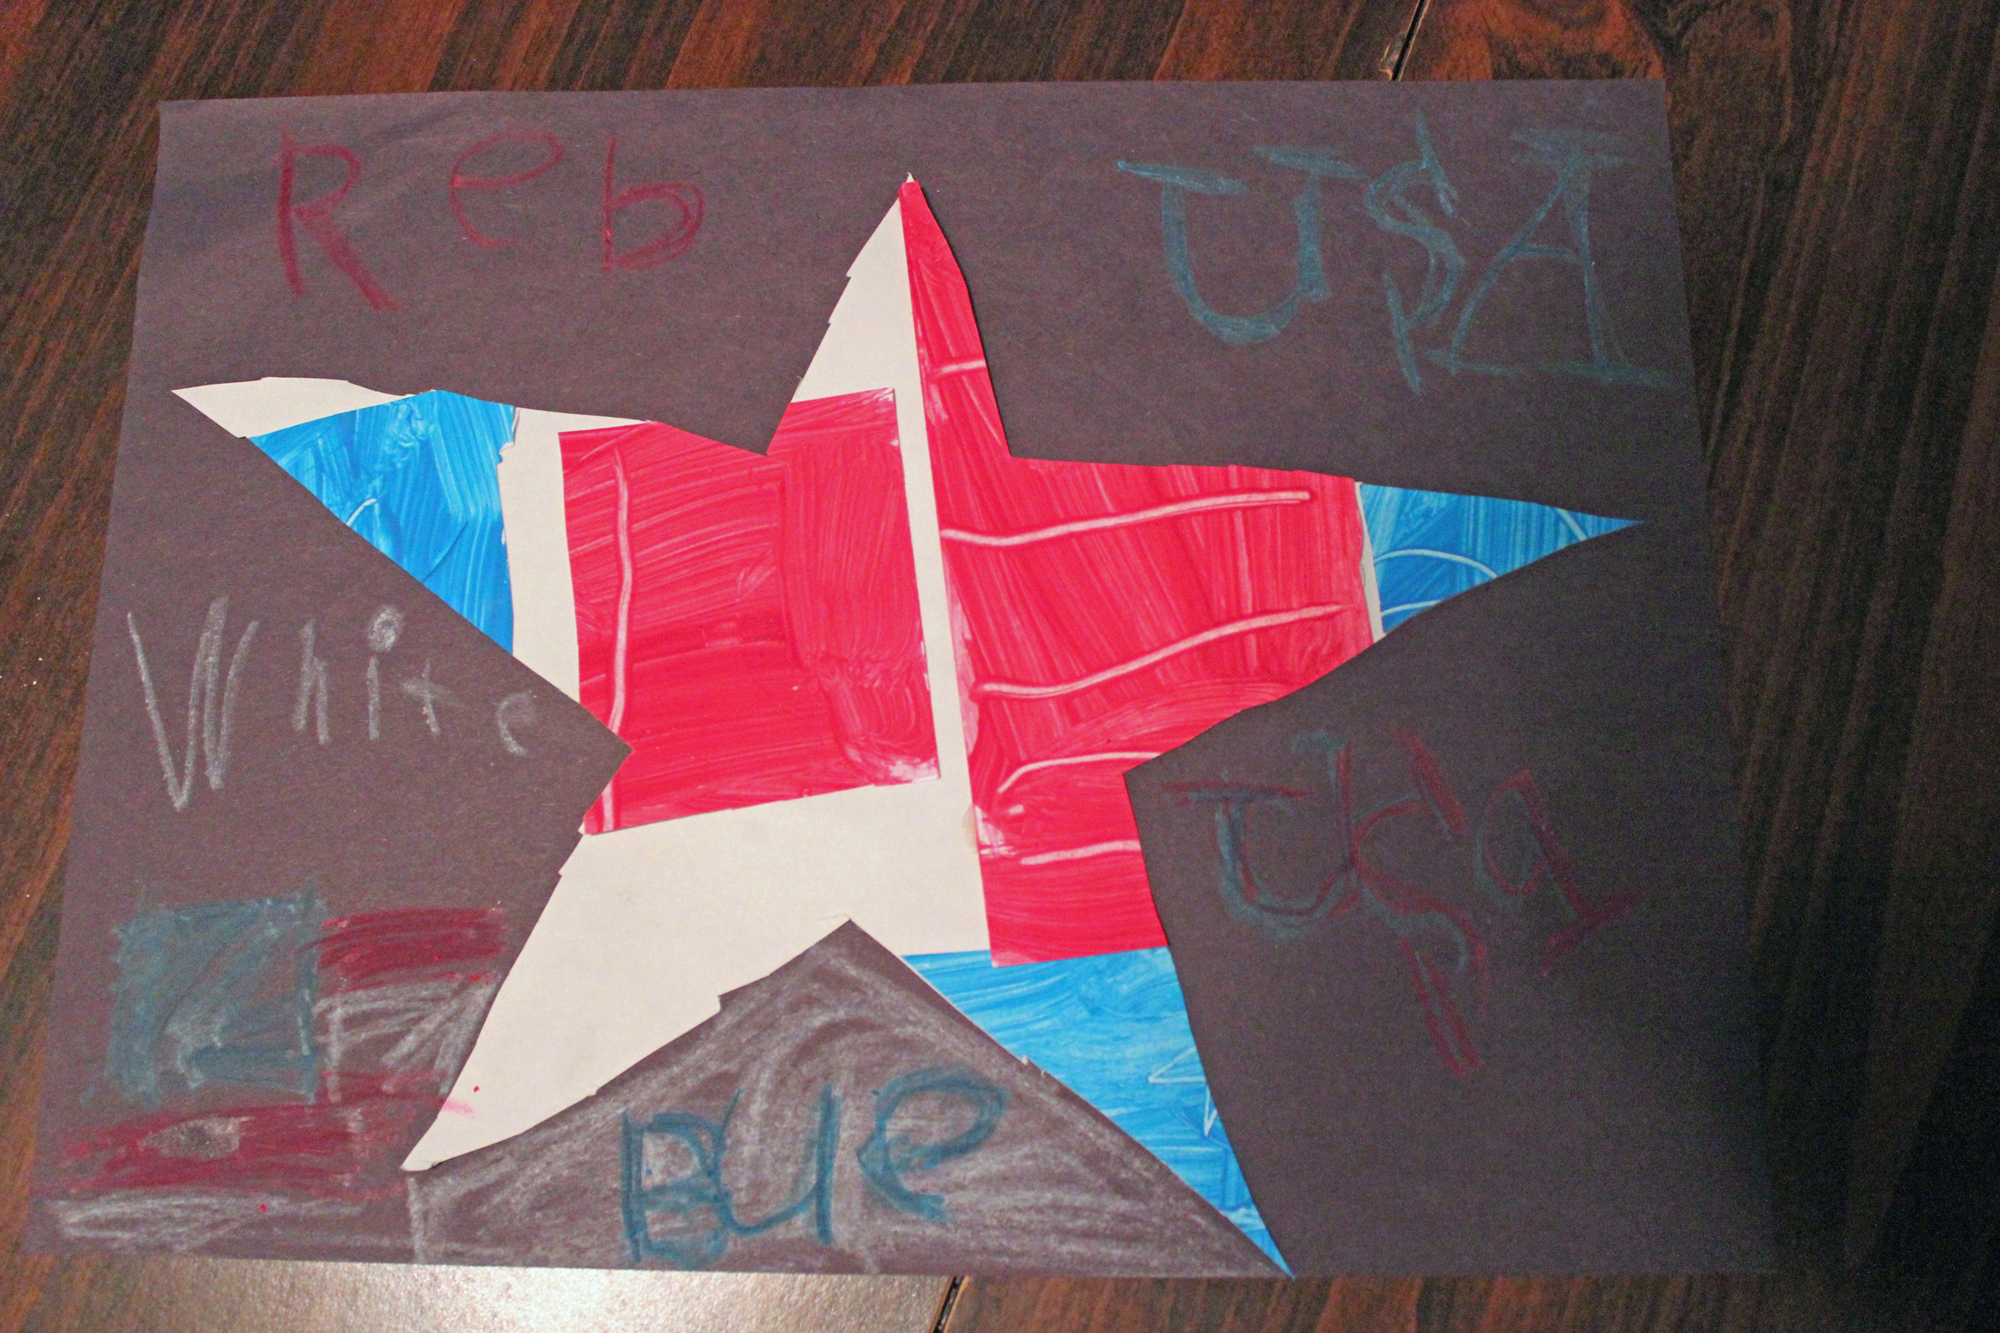
- Use oil pastels to write patriotic images, words, phrases, songs, etc.

Check out the other day that we spent learning about Memorial Day:


